
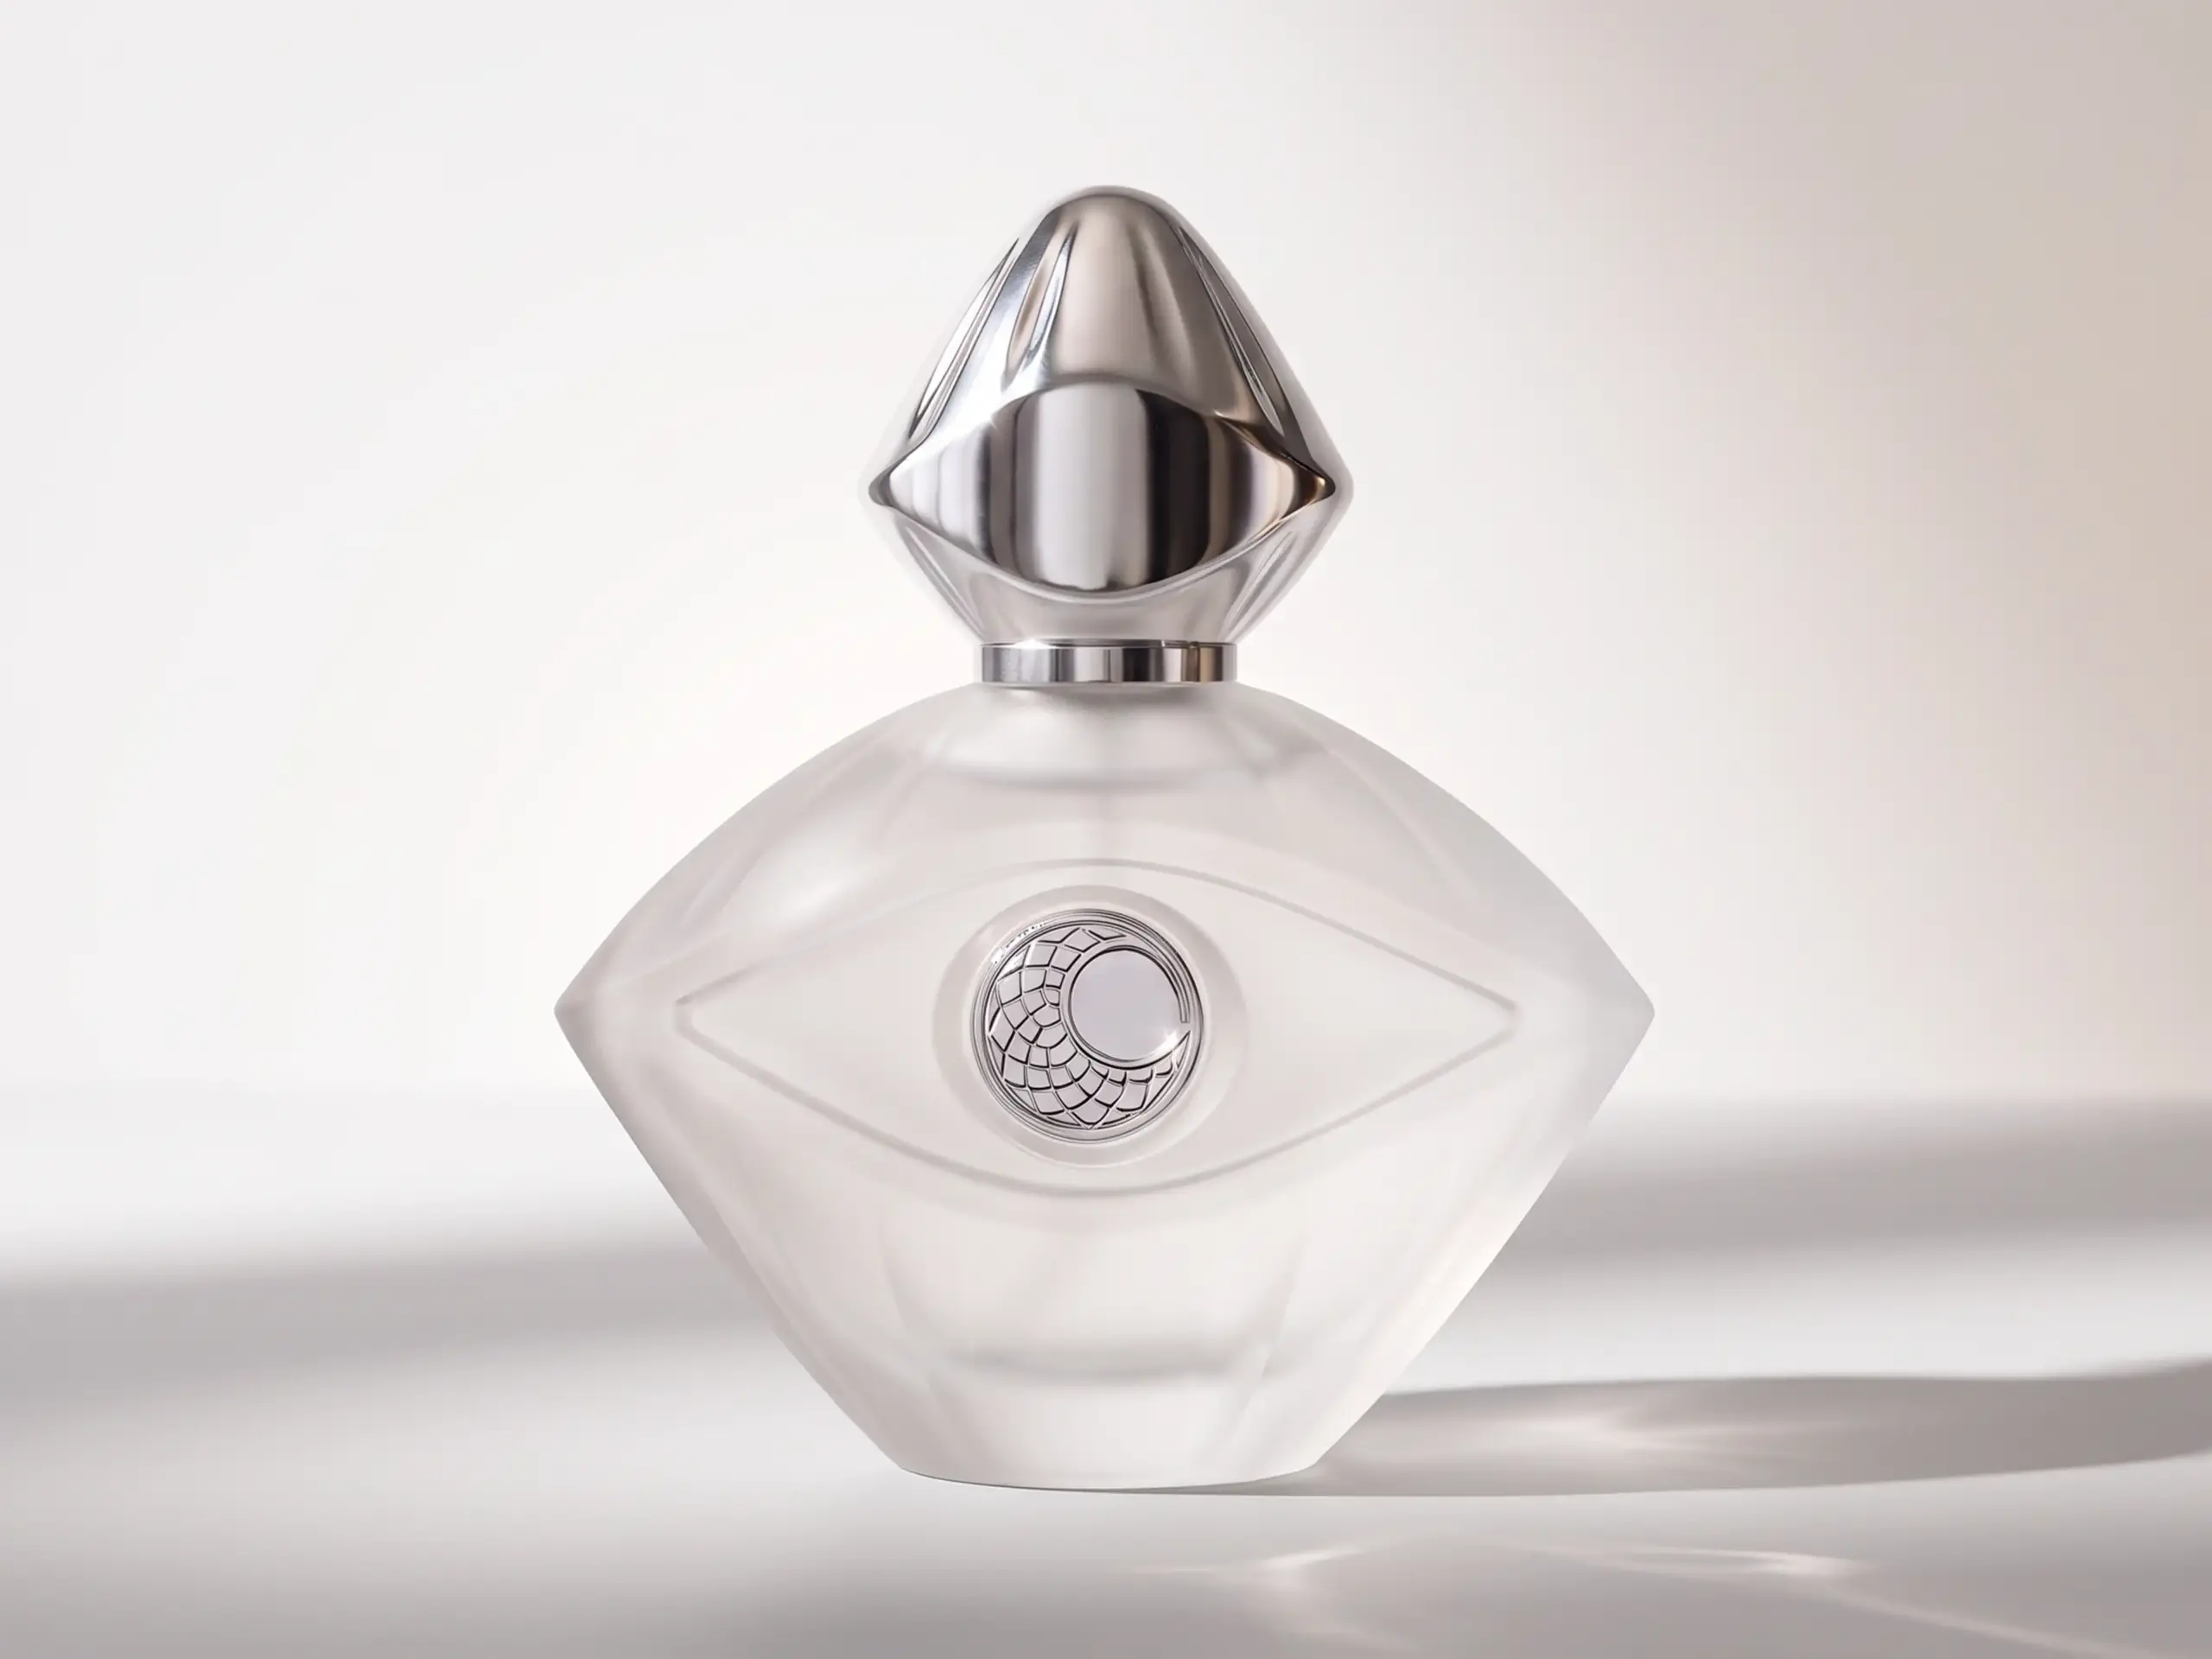


The box looks ready until you put the cap on the bottle. Now the lid sits a little high on one side. When you reach in to take the bottle out, the cap is the only part you can get a grip on. Both are worth catching while the box is still a sample.
Review the bottle as a customer will receive it, with the sprayer, collar, and cap in place. A heavy glass bottle can sit snugly on the table and still shift in transit. Have purchasing, quality, and the filler work from the same setup. Ask the supplier whether they used substitute board, a hand-crimped pump, or a different print process. Those details help you decide what you can approve today.
1. What Is Perfume Packaging Sample Approval?
Perfume packaging sample approval is how you decide whether a specific version of the packaging is ready for production. The sign-off tells the supplier what passed, what needs to change, and what still needs testing. A box order might cover the carton, insert, and print. A complete order also covers the assembled bottle, pump, dip tube, seal, collar, cap, decoration, and shipping carton. Record the sample ID and specs so everyone knows exactly what you approved.
Packaging Samples vs. Finished Perfume Product Samples
Perfume box samples let you feel how the carton opens, see whether the insert holds the bottle steady, and check the artwork on a folded box. An empty bottle is useful for looking at shape, a bottle with the sprayer fitted lets you check assembly, and a decorated bottle shows how the artwork looks on glass. Record which fit checks you ran with an empty bottle.
A filled perfume sample lets you judge the scent, liquid appearance, and spray. A vial for smelling the fragrance can use different packaging from a unit for leak or stability testing. Suppliers sometimes call empty mini vials “perfume samples,” too. Spell out which you need and include the part numbers or formula reference.
Why Sample Approval Matters Before Mass Production
Sample approval gives you time to sort out surprises before the full run. A dark carton that matched the bottle on screen may look lighter once the printer applies the final ink and matte laminate. Finding that out with the two pieces in front of you is a lot easier than correcting a whole batch.
The signed sample gives packaging quality control something to work from. If a batch of boxes looks lighter, set one next to the approved sample. If the gap under a cap looks wider, check the drawing. Use the agreed spray and seal tests and the same references for first-piece, in-process, and pre-shipment inspections.
2. Types of Perfume Packaging Samples
A blank mock-up can settle a question about finger clearance. A choice between two matte finishes calls for a decorated sample. You can combine checks when the sample represents the materials and processes they depend on.
| Sample type | What it helps you check | What to ask your supplier |
| Digital proof and dieline | Artwork, panel orientation, finish placement, and cut and fold lines | Which file revision and color reference did you use? |
| Blank structural mock-up | How the bottle sits, how the lid closes, and how the bottle comes out | Do the board, insert, and method match production? |
| Printed and decorated sample | Color, print detail, texture, and alignment | Which materials and finishes match production? |
| Pre-production sample | Parts, finishes, assembly, and shipping setup | Which parts came from production tooling? What still needs testing? |
Digital Proofs and Dielines
A dieline shows where the carton is cut, folded, and glued, as well as the bleed and safe areas for print. Confirm whether the dimensions are inside or outside measurements. If a panel is hard to picture, print the dieline at actual size and fold it. You’ll see if the flap covers the barcode, ingredients, size declaration, or lot-code area.
On the proof, check spelling, type size, placement, and the right artwork for each SKU. Have the printer identify the revision and the layers for CMYK, spot ink, foil, embossing, and spot UV. You can tell the printer, “The layout is approved. We’ll sign off on color and finishes once we see the physical sample.”
Blank Structural Mock-Ups
A blank mock-up is usually an unprinted box and insert. Set the assembled bottle inside, close the lid, and try getting the bottle out. A cutout that looks generous on a drawing can leave nowhere to put your fingers. If you’re pulling on the cap, revisit the cutout. On a drawer box, watch the bottle shoulder and cap as they pass under the opening.
Paperboard and foam can grip the same bottle differently, even with identical cutouts. If the supplier hand-cut the mock-up or used a substitute board or insert, repeat the affected checks with the final materials.
Printed and Decorated Samples
Set the box, bottle, and cap next to each other and turn them under the light. Two matte blacks can look like a match until you see them side by side. A gold cap may catch the light in a way you couldn’t see on screen. Open the box to see where the logo ends up.
Ask for the production board, ink, laminate, glass, and finish. Check fine lettering on curved glass, solid ink across a fold, and foil near small type on the actual materials. If the paper, foil, or coating will change, record what you’ll need to see again.
Pre-Production Samples
A pre-production sample should be as close as possible to what the factory will make. The sample sheet should identify the glass tooling, pump, cap, board, insert, artwork, and any substitutions. Those details tell you what your sign-off applies to.
A pump may seat perfectly on the one bottle you’ve been sent. With new glass tooling, a new filling line, or parts from several suppliers, a pilot run or first-piece inspection can show how the fit holds across tolerances. Give the supplier and filler the trial results, signed sample reference, and current specs.
3. How to Prepare and Request Perfume Packaging Samples
Give the supplier one brief with the assembled dimensions, formula details, box style, materials, artwork, and acceptance criteria. List each SKU’s capacity, quantity, destination market, filling site, distribution channel, and target approval date. Ask how many samples you’ll get, what needs a lab or on-site equipment, and how revisions and shipping are handled. Leave time for testing and label review.
Share Bottle Dimensions and Formula Details
Two 50 mL bottles can need very different boxes. A broad shoulder can clear the insert and still leave barely enough room for your fingers. Send drawings for the bottle, neck finish, and complete assembly. Mark the height to the cap, maximum width and depth, shoulder profile, protrusions, and tolerances. Include the empty and filled weights and flag raised lettering, plaques, or labels that could rub.
The filler needs the sprayer and seal part numbers, collar and cap revisions, dip tube specs, target fill, and crimping or screw-on conditions. Decide who will check bottle positioning, pump height, sealing tooling, and lot-code placement on the line. If different suppliers make the cap and pump, send both the same component references and have the filler try the complete set.
Share the formula ID, base type, alcohol content or range, relevant fragrance or oil ingredients, and expected storage and use. With a proprietary formula, the formulator can share the necessary details with the lab, or the filler can test the actual fragrance. Record which revision was tested.
Confirm Box Structure, Materials, and Inserts
Open the box the way a customer would. On a folding carton, try the tuck flap and check the folds, locking base, and glue seam. See if a lift-off lid brings the base up with it, or if a bottle slides forward as you open a drawer box. On a magnetic box, check the magnet placement, lid alignment, and clearance.
Specify the board grade, weight or thickness, wrap, and laminate. Note what the insert is made of and how it’s secured. Whether you use paperboard, molded pulp, thermoformed PET, or EVA foam, show where the bottle rests and how you’ll get your fingers around it. Include any leaflets, cards, or vials in the mock-up. Agree on how many units go in each shipping carton, which way they face, what separates them, and how you’ll seal the carton.
4. Perfume Packaging Sample Approval Checklist
Keep the drawings and color references beside the sample. If a flap catches or a color looks off, note exactly where on the sample it happened. Agree on dimensional, force, color, and spray output limits before testing. Record the sample ID, method, and result, and add a photo, owner, and due date for any follow-up.
| Check | What to do | What to keep on file |
| Bottle and insert | Load the assembled bottle, close the box, and take the bottle out. Look for movement, rubbing, and tight spots. | Measurements, fit photos, and points of interference |
| Cap, sprayer, and seal | Assemble as planned for production. Check cap removal, priming, spray output, and leaks. | Part revisions, assembly settings, output data, and leak results |
| Retail and shipping pack | Use a representative fill weight and pack the carton as it will ship. Open and test the product afterward. | Carton setup, test conditions, damage photos, and functional results |
| Artwork, color, and finish | Review artwork, registration, color, and durability on the final materials. | Artwork and swatch IDs, viewing conditions, and acceptable limits |
| Formula and compliance | Test contact parts with the actual formula and review labeling and material records. | Formula revision, test reports, approved artwork, and applicable documents |
Structural Fit and Protection Testing
Bottle fit test and insert fit. Take the assembled bottle out and put it back a few times. It should settle without rocking. Watch for the shoulder catching or the logo picking up scuffs. Set the closed box in its display position, then reopen it to see if the bottle has turned. If the lid bows, check for pressure on the sprayer. Try bottles across the tolerance range so larger ones fit and smaller ones stay put.
Cap fit, pump assembly, and sealing. Look for a gap that widens on one side. Take the cap off and put it back on a few times. Does it sit in the same place each time? Do the spray button or collar lift when the cap comes off? Agree on cap removal force, torque for threaded pumps, or post-crimp dimensions as applicable. Test the assembled neck, pump, and seal using the agreed liquid, orientation, temperature, and duration. Photograph where liquid first appears and record mass changes if needed.
Pump output and spray. With the specified pump, dip tube, and test liquid, count the presses it takes to get a steady mist. Watch for spray that veers or sputters, a button that returns slowly, or a drop hanging from the nozzle. For output by mass, weigh the bottle before and after an agreed number of full sprays. Calculate the average per spray and compare units. For volume, use the agreed method or convert using the liquid’s density. If low-fill performance matters, check whether the dip tube still picks up liquid, how the spray looks, and how much liquid is left.
Shipping protection. Give the closed box a slight shake. If you hear a knock, see what moved. For transit testing, use a representative fill weight and the planned insert, retail box, dividers, and shipping carton. Pack it exactly as you’ll ship it. Agree on what counts as damage, including crushed cartons, scuffs, loose parts, broken glass, and leaks. Choose drop, vibration, compression, or other tests for your distribution channel. Unpack and try the cap and sprayer afterward. If you use an ISTA procedure, choose one that fits the pack and how it will ship.
Print Quality, Color Accuracy, and Finishes
Printing inspection. Turn the carton in your hands and compare each panel with the artwork. Check the scent name, size, languages, ingredients, marks, barcode, label seam, and lot-code area. Look for exposed white fibers at dark folds, streaks, broken lines, misregistration, and foil creeping over small type. Verify the barcode on the finished box. If your channel requires a print quality grade, use a verifier that meets the applicable specification and keep the report.
Color accuracy. A shade can look right until you put the swatch beside it. Compare the finished carton and swatch under the agreed light, background, and angle. With clear or translucent glass, check it with the agreed fill. For Pantone spot colors, record the code, guide edition, and coated or uncoated reference. For critical colors, approve a target and samples at the acceptable limits, or agree on a measurement method and color-difference limit (ΔE).
Surface finish inspection. Light from the side makes coating runs, bare spots, and scratches easier to see. Run a finger over the embossing and look for gaps in foil, misplaced spot UV, or lifting laminate. Pay attention to the places people see first or touch most. If the insert brushes the logo, repeat the motion as agreed and check for wear or color transfer. Choose adhesion, rub, or fragrance splash tests based on what the finish will be exposed to. Use the approved limits to judge the results.
Formula Compatibility and Compliance Checks
Test the intended fragrance with parts that represent production. The bottle, dip tube, pump’s liquid path, and seal touch the formula. A splash during filling or a drip from the nozzle can reach the coating, label, adhesive, collar, or cap. Agree on sample count, fill, temperature, orientation, duration, check intervals, and pass criteria. Record the starting condition so you can spot a change in color or clarity, a swollen or softened seal, sticky finish, curling label, or change in scent or spray. The formulation and quality teams can decide whether they need control samples, further analysis, or long-term stability testing.
What goes on the label depends on where and how you’ll sell the fragrance. In the EU, Article 19 of Regulation (EC) No 1223/2009 sets labeling requirements for the container and outer packaging. Annex I calls for the cosmetic product safety report to address relevant packaging material characteristics, including purity and stability. Check that supplier documents match the actual parts. Review applicable net contents, responsible person details, lot code, ingredients, and precautions on the finished pack. Keep the approval, safety assessment, and label review records.
5. How to Manage Revisions and Sign-Off with Suppliers
After a few rounds, you can have two nearly identical boxes on the table. Which one did you approve? Keep a shared revision log. Purchasing collects the feedback, the quality team and filler sign off on their checks, and the supplier confirms what’s going to the floor. The purchase order, sample label, and production files should all point to that revision.
Communicating Sample Feedback and Revision Control
“The cap feels tight” is a useful first observation. Tell the supplier when it catches and what moves. Mark the spot on a photo and include the SKU, sample ID, drawing or artwork revision, acceptance criteria, and what you’ll check next.
> On SKU A, sample P02 with cap C03, the spray button lifts when we take the cap off. The photo shows where it catches. Could you check the cap interior and button height and send another sample with the production pump and cap? We’ll check clearance, watch for movement during removal, and try the spray before signing off.
Mark each item as approved, pending changes, or conditionally approved. The printer may be able to prepare files while you wait for a new insert. Record who owns the open check and what has to wait. Hold affected work for unresolved leaks, breakage, or labeling problems.
Where practical, both sides should keep a signed sample. Link it to the SKU, revision, order, drawings, parts list, artwork, test records, exceptions, approver, and date. Give the production and inspection teams the tolerances, appearance limits, and sampling requirements for judging the lot.
Common Approval Mistakes to Avoid
– Signing off from photos. A photo can show that a corner of the foil is missing. You’ll need the sample or an agreed test to judge how hard it is to pull off the cap or whether the spray goes sideways.
– Relying on one hand-built sample. Ask how the supplier made it, especially when the neck finish, cap tool, or print process is new. Decide what you need to see in a pilot run or first-piece check.
– Signing off on the whole line from one size or scent. Check what changes across SKUs, including bottle height, cap weight, artwork, and formula. If one test covers several SKUs, record why.
– Agreeing to substitutions by phone. Put changes to paper, laminate, inserts, gaskets, coatings, or suppliers in writing. Recheck color and folds after a laminate change, or sealing and compatibility after a gasket change.
– Working out the inspection after release. Agree on who checks what, when they’ll check it, and what they’ll do if something fails. A signed sample at the acceptable limit can help settle borderline color or appearance questions.