
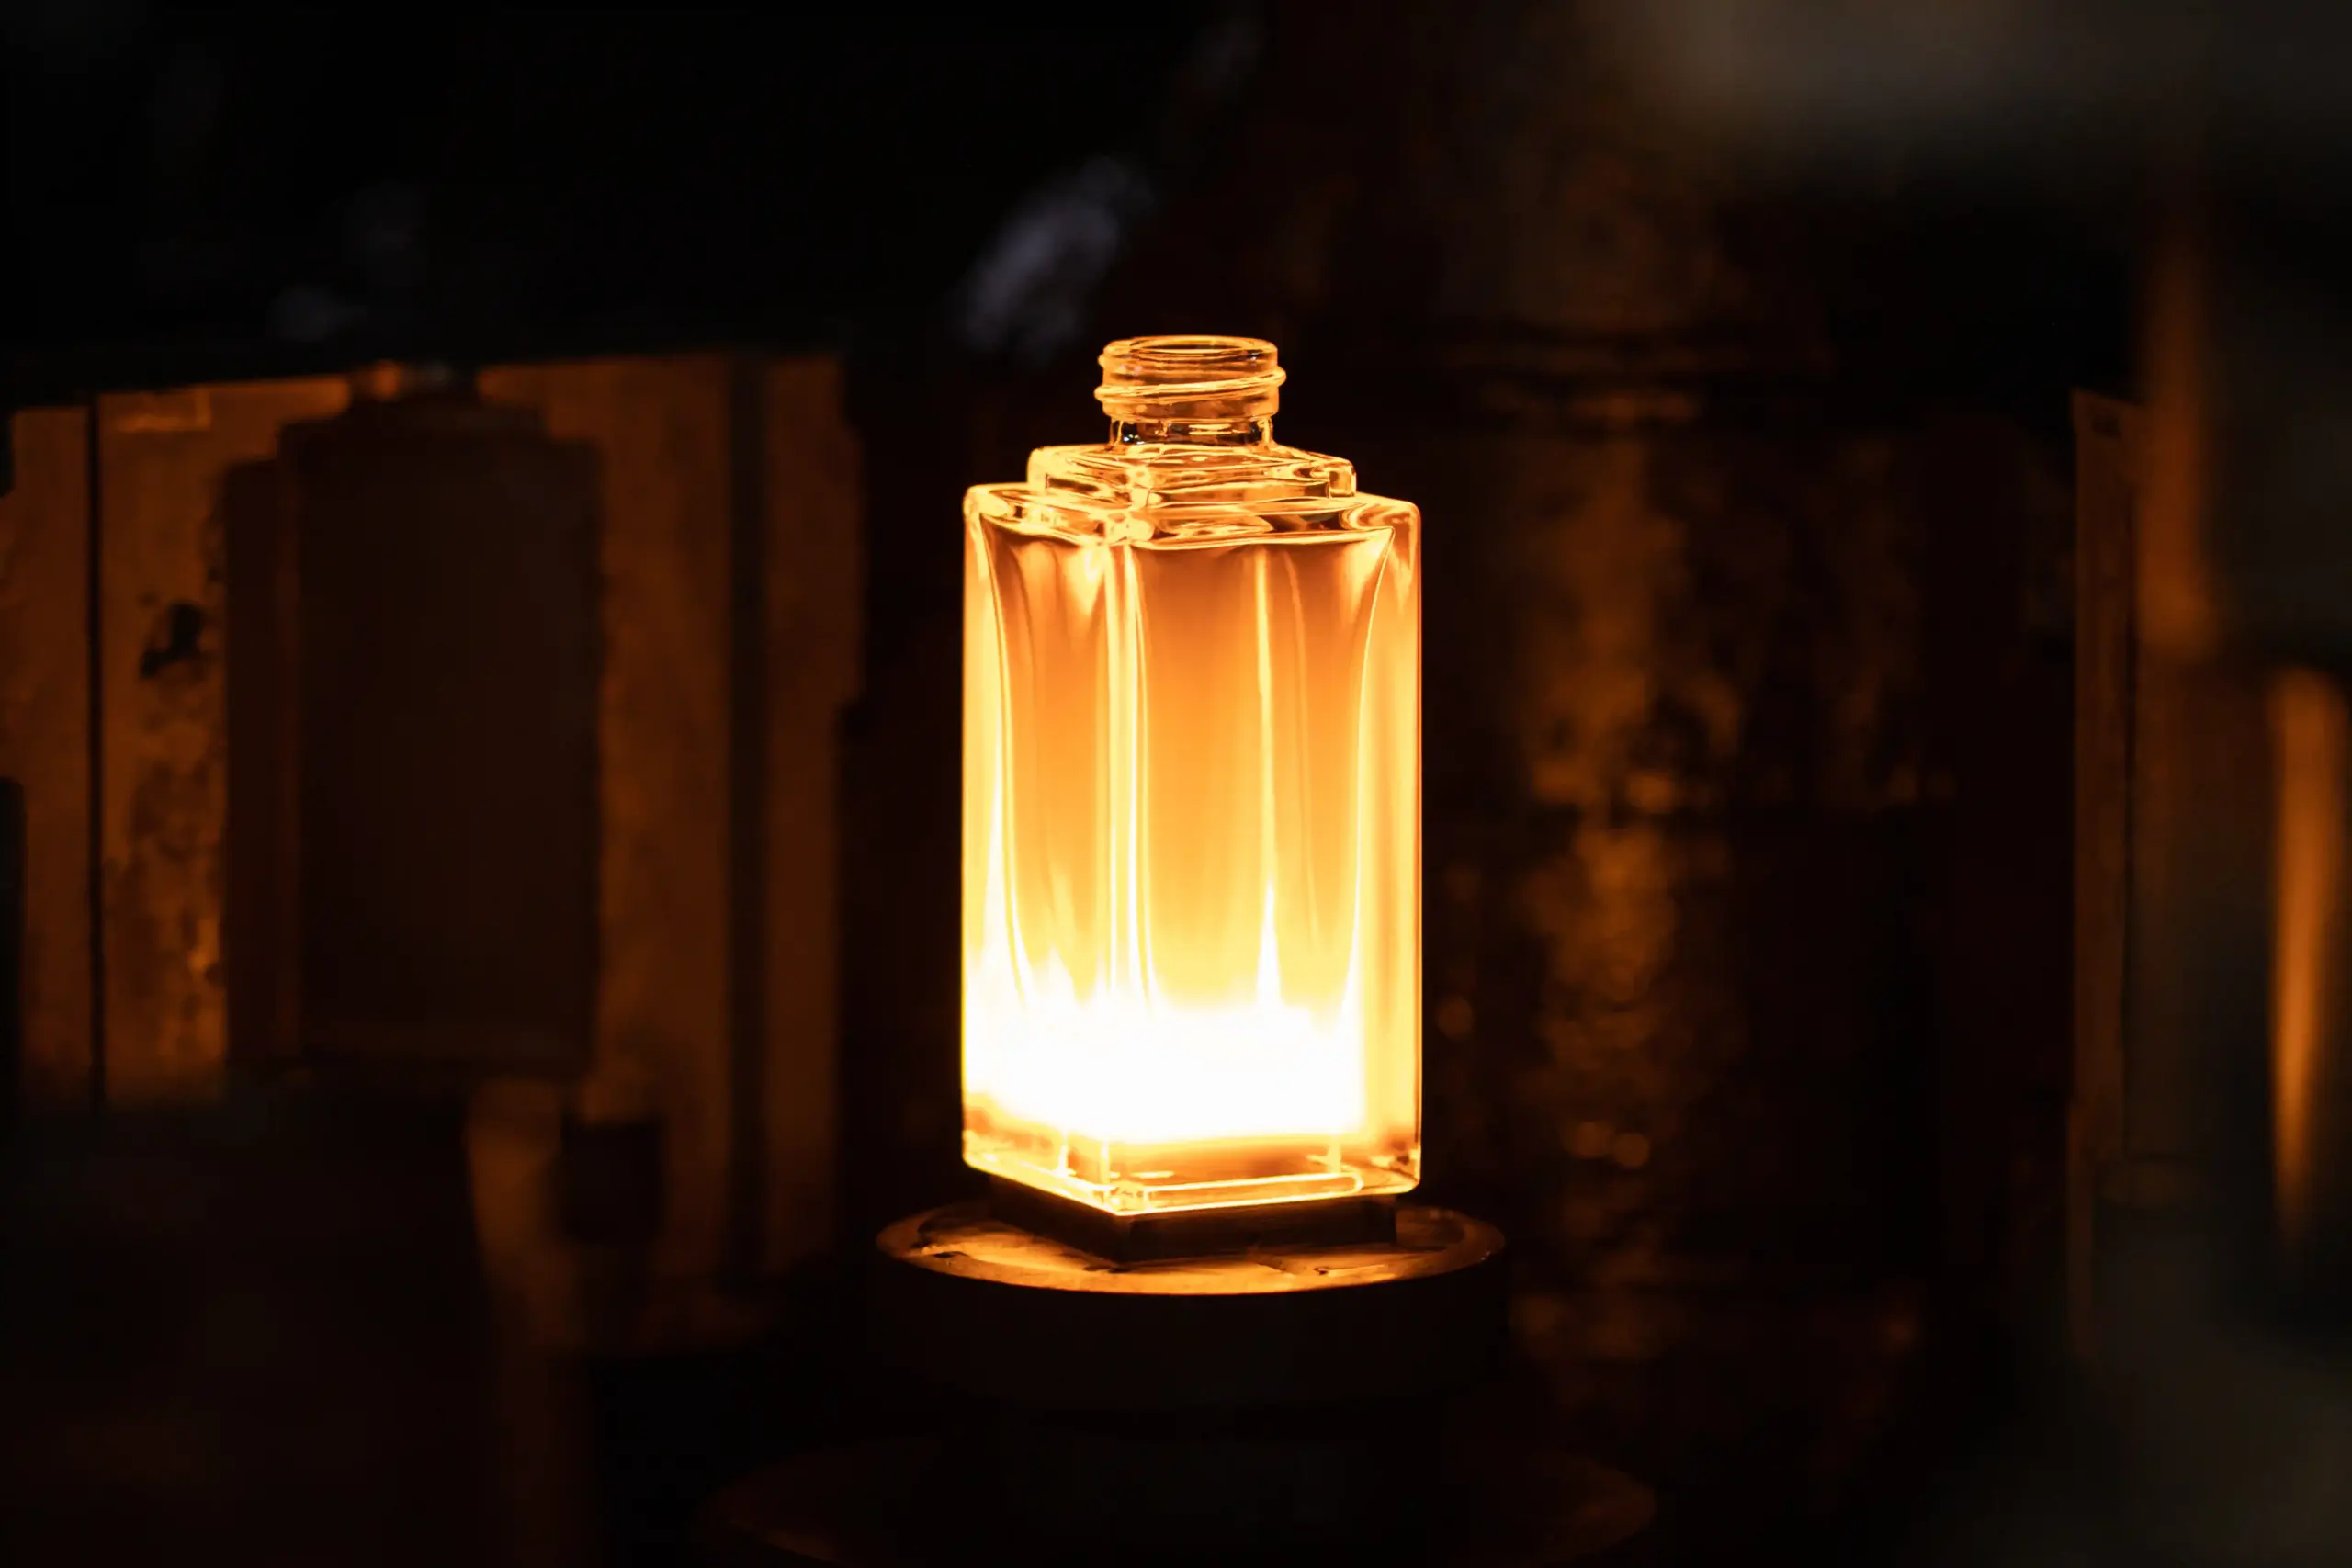


A perfume bottle can look convincing in a rendering long before it is ready for production. Its proportions may be right, the cap may complete the silhouette, and the finish may express the brand exactly as intended. Yet several questions remain: Can the shape be formed consistently? Will the selected atomizer seal correctly? Can the decoration be applied where the design requires it? What needs to be approved before the tooling investment begins?
Custom perfume bottle development brings these decisions together. It translates a visual concept into a defined package, supported by production tooling, compatible components, and measurable acceptance criteria.
For a fragrance brand, the most useful starting point is to identify what the packaging must achieve—and which parts genuinely need to be custom. That decision shapes the investment, development schedule, and work required before production.
1. Do You Need a New Perfume Bottle Mold?
A new mold is appropriate when an original bottle structure serves a clear purpose. A recognizable silhouette, distinctive shoulder, or sculpted detail may become an important part of the brand’s identity. Other projects can achieve their intended appearance through an existing bottle combined with a custom cap, coordinated decoration, and presentation box.
There are three development routes to consider.
| Development route | What changes | When it makes sense | What to confirm |
| Existing mold | Color, decoration, closure, and presentation packaging | An available bottle already meets the structural requirements | Capacity, neck compatibility, decoration space, and availability |
| Adapted platform | Selected features while retaining suitable existing elements | The project needs greater differentiation without redesigning every component | Which elements can actually be reused and what new tooling is required |
| Private mold | An original bottle form or agreed structural features | The physical bottle is central to the brand’s identity | Manufacturability, investment, expected volume, and commercial terms |
An adapted platform requires particular care. Keeping an existing neck finish, for example, may allow continued use of a suitable closure system. It does not necessarily mean the bottle can be produced by making a small adjustment to an existing mold. Changes to capacity, proportions, or material distribution may still require substantial engineering.
Compare the routes against the complete package. An existing bottle that needs an expensive custom closure and difficult decoration may offer less advantage than its initial quotation suggests. Equally, a private mold may add little value if the intended identity can be achieved through established components.
2. What Is the Difference Between Tooling and Molding?
Tooling is the equipment developed to manufacture the bottle or component. Molding is the production process that uses that equipment.
A tooling project covers more than the visible outline of the bottle. The tool must accommodate the material, forming method, neck geometry, cooling, release, and production equipment. Its purpose is to reproduce the approved structure consistently.
For a complete perfume package, several tooling scopes may exist. The bottle may need its own forming equipment, while a custom cap, overcap, collar, or decorative insert requires separate tooling. A quotation described simply as “one custom mold” leaves too much undefined unless the included components are listed.
This distinction also explains why tooling and unit prices should be assessed separately. Tooling is primarily a development investment. Bottle production, component manufacture, decoration, assembly, and transportation are costs associated with the quantities subsequently ordered.
Before approving a tooling quotation, ask which production assets it includes, which components remain standard, and which items will be quoted separately.
3. How Material Selection Changes the Forming Process
Glass and plastic bottles follow different production routes. A design cannot be transferred from one material to another solely by changing the material specification. Geometry, wall structure, closure interfaces, and manufacturing requirements need to be reviewed together.
Glass perfume bottles
A typical industrial glass-container route follows this sequence:
Molten glass → measured gob → blank mold → parison → final blow mold → annealing → inspection
The gob is a measured portion of molten glass. In the initial forming stage, it becomes an intermediate shape called a parison. The parison then transfers to the final mold, where it takes the finished bottle form. Annealing controls cooling to reduce residual stresses before inspection.
A custom glass tooling package can therefore involve matched components for the initial and final forming stages, together with neck rings and base components. The selected forming process and production machine determine the exact equipment required. Bucher Emhart Glass distinguishes between blow-and-blow and different press-and-blow forming routes.
For the buyer, the implication is straightforward: approving the external silhouette does not complete the engineering work. The manufacturer must also assess how the glass will be distributed through the shoulder, body, and base.
PET bottles
PET bottles commonly begin with an injection-molded preform. The neck finish is established during preform manufacture, while the body is subsequently stretched and blown into the bottle shape. In a two-stage process, the preform is reheated before blowing.
A project may be able to use a suitable existing preform with a new bottle mold. Another design may require changes to both. That decision depends on the proposed neck, capacity, proportions, and material distribution.
PE and PP bottles
For suitable PE and PP designs, extrusion blow molding forms a hollow tube of heated material, also called a parison. The mold closes around it, air expands the material against the mold walls, and the formed bottle is cooled and trimmed.
The engineering must account for the bottle profile, neck, base, pinch-off area, and wall distribution. The process should be selected for the actual design and application rather than assumed from the resin name alone.
Plastic options also require application-specific evaluation. A material that can be formed into the desired shape is not automatically suitable for the intended fragrance formula, storage conditions, or shelf-life requirements.
Caps, collars, and other components
Plastic caps, overcaps, collars, and selected dispensing components may be injection molded separately. Their development should begin alongside the bottle when they influence fit, appearance, or assembly.
Leaving the cap until the bottle is complete can create avoidable compromises. Its internal structure, retention method, and clearance around the atomizer all affect the finished package.
4. From Concept to Approved Production
A development schedule becomes more useful when each stage has a defined decision. The following sequence connects the original brief with production approval while making room for correction.
Establish the packaging brief
Begin with the intended product and commercial objective. Useful information includes the target fill volume, preferred material, fragrance format, closure direction, decoration, expected order quantity, destination market, and launch plan.
Distinguish target fill volume from overflow capacity. The bottle must accommodate the intended fill and the assembled dispensing system; a nominal capacity alone is insufficient to define the structure.
A sketch or reference bottle can start the discussion. It should be accompanied by an explanation of which details matter most and where the design remains flexible.
Review feasibility and select the development route
The feasibility review connects the concept with a suitable manufacturing process. It should identify available bottle platforms, likely tooling requirements, and features that could affect cost or production consistency.
This is the right time to discuss difficult recesses, pronounced shoulders, unusual necks, or details that may complicate mold release. The review should explain the consequences of retaining each feature and present alternatives where appropriate.
The outcome is an agreed route: an existing structure, an adapted platform, or new private tooling.
Engineer the bottle and its interfaces
Structural engineering converts the concept into a technical design. Capacity, dimensions, weight, wall distribution, base stability, neck finish, parting lines, and dimensional requirements need to be considered.
The atomizer and closure belong in this review. A crimp system and a screw system create different requirements for the bottle neck and assembly process. Cap clearance, collar position, dip-tube arrangement, and filling equipment should be assessed before the bottle structure is released for tooling.
Decoration also needs physical space. Curvature, recessed areas, embossed details, and surface transitions can affect printing, labeling, hot stamping, or coating. Artwork that looks balanced in a rendering may need adjustment once the usable application area is defined.
Review a physical prototype
A prototype helps the team judge scale, proportion, grip, cap-to-bottle balance, and artwork placement. It can reveal issues that remain difficult to assess on screen.
Its approval must have a clear scope. A prototype made by a different process or material may support an appearance review without establishing sealing performance, glass distribution, or production repeatability.
Record what has been accepted and what still needs confirmation using production-tool samples.
Manufacture the production tooling
Once the structural design is approved, the toolmaker develops the required mold components, inserts, surfaces, cooling arrangements, and machine interfaces.
The approved drawing revision should be fixed before machining begins. Any later change needs to be assessed for its effect on tooling, cost, and schedule.
Where the package includes custom caps or collars, their development plans should remain connected to the bottle schedule. Separate tools still need to produce components that work together.
Run the tooling trial and make corrections
The first tooling trial produces samples from the actual production equipment. These allow the team to assess dimensions, capacity, weight, neck geometry, surface appearance, seams, base stability, and component fit.
A trial is an evaluation stage. It may reveal that the tool needs correction, that process settings need adjustment, or that the original design requires reconsideration.
Document each issue against the agreed specification. After corrections, further samples should be reviewed before the affected feature is approved.
Validate the assembled package and approve production
The bottle should be evaluated with its intended pump, collar, cap, decoration, and protective packaging. Formula compatibility requires an appropriate assessment using representative materials and agreed conditions.
Depending on the project, validation may include leakage, closure performance, decoration adhesion, and transport-related checks. The test scope and acceptance criteria should be agreed for the actual package.
A pilot run can then help confirm that the approved result is reproducible under the intended production conditions. Production release should refer to an identified sample, current specifications, and documented quality criteria.
5. What Determines Custom Perfume Bottle Tooling Cost?
Tooling cost reflects the work needed to manufacture a repeatable product. The bottle’s outline is only part of that work.
A quotation may include structural engineering, tool materials, machining, fitting, surface finishing, forming components, inserts, trial production, measurement, and corrections. The cost also depends on the selected process and production arrangement.
Several design decisions can expand the scope. An unusual neck may require additional engineering. Deep recesses or difficult release geometry may complicate the tool. A demanding decorative surface may require closer coordination between forming and finishing. A custom cap adds another component and potentially another approval sequence.
Production volume matters as well. The number of mold cavities or forming positions must suit the manufacturing plan. Higher output capacity can justify greater initial investment, but it should be supported by a realistic production forecast.
For planning, the tooling contribution per bottle can be expressed as:
Tooling contribution per bottle = tooling investment ÷ forecast production quantity
This calculation helps compare development routes. It does not represent the full unit cost, and its usefulness depends on the credibility of the forecast. If the quantity is never produced, the anticipated distribution of the tooling investment is never achieved.
Ask for the tooling scope and production quotation together so the financial decision reflects both development and repeat orders.
6. How to Obtain a More Useful Tooling Quotation
A supplier can provide a more meaningful assessment when the project brief defines the intended package.
For the bottle, provide the target fill volume, proposed overflow capacity, material preference, approximate dimensions, and any weight requirement. Explain the fragrance type and relevant filling conditions.
For the assembled package, identify the proposed spray pump, neck format, collar, cap, and any additional custom parts. If components have already been selected, share their drawings or physical samples.
For production planning, provide the expected first order, annual volume, decoration requirements, required testing, and target delivery date. State any ownership or exclusivity expectations before the tooling proposal is finalized.
A reference image remains useful when these details are incomplete. It should lead to a feasibility discussion and a list of missing decisions. An early estimate based on an image should be understood as provisional until the engineering scope is established.
7. How to Control Tooling Cost Without Weakening the Design
Cost control works best while the structure is still being developed. At that stage, the team can protect the features that matter to the brand while simplifying those that add little value.
Start by checking whether an existing bottle offers the required proportions. If a new body is needed, assess whether a suitable established neck and closure system can be retained. This can reduce the number of interfaces being developed at the same time.
Give custom engineering a clear priority. A signature silhouette may justify investment, while a hidden detail may offer little benefit relative to its manufacturing complexity.
Confirm capacity early. A later request to change fill volume can affect dimensions, glass distribution, the cap-to-bottle relationship, and the presentation box. What appears to be a small commercial change can reopen several technical decisions.
Use prototypes to resolve appearance questions before tool manufacture. Then maintain a clear record of drawings, sample versions, and approvals. Repeated uncertainty about which version is current can consume as much development time as a technical correction.
Finally, review savings across the complete package. A bottle modification that lowers one cost but creates difficulties for the pump, decoration, filling operation, or carton should be assessed against those consequences.
8. What Should the Tooling Agreement Define?
The tooling agreement should describe the production asset and the responsibilities attached to it.
Confirm the bottle and component tools included, the approved drawing revisions, payment milestones, trial scope, and correction arrangements. Clarify how later design changes will be assessed and charged.
Ownership, exclusivity, and permitted use also need explicit terms. Paying a tooling charge should not leave either party relying on an unstated assumption about how the tool may be used.
Storage, maintenance, wear-part replacement, and repair responsibilities should be addressed before repeat production is needed. If transfer is relevant to the project, agree on the conditions and the equipment or documentation included. Transfer arrangements should also account for whether another production site can use the tooling on its machinery.
These details make future decisions easier when a collection expands, production pauses, or a component needs revision.
9. Plan Tooling Around the Launch Schedule
A tooling completion date is one milestone within the development program. The launch schedule must also accommodate trial samples, corrections, decoration approval, component validation, pilot production, filling, and delivery.
Work backward from the date finished stock must be available to the sales channel. That date may be earlier than the public launch, particularly where distributors, retailers, or seasonal programs require inventory in advance.
Identify the decisions that could affect the rest of the package. Bottle capacity and neck selection should be settled before dependent components are finalized. Decoration trials should use representative surfaces. Presentation inserts should be confirmed against the approved assembled package.
For a collection with several sizes or finishes, consider the order in which development should proceed. Resolving the main structural and component questions on a priority configuration can provide a stronger basis for the remaining range.
A realistic schedule includes time for revision. It also makes the consequences of late changes visible while the team still has options.
10. Developing a Custom Perfume Bottle With Jarskingglobal
Jarskingglobal’s role in custom perfume bottle development connects the visual concept with the production decisions behind it: structural design, tooling, trial samples, component matching, decoration planning, and quality review.
The starting point can be a sketch, rendering, reference bottle, selected atomizer, or fragrance brief. From there, the project can be assessed against existing structures and custom development options.
For the first review, share your target capacity, preferred material, intended pump and cap, estimated quantity, decoration direction, and launch requirements. These details help establish the appropriate development route and the next technical decisions.